Vintage Floral Teapot Tea Cosy
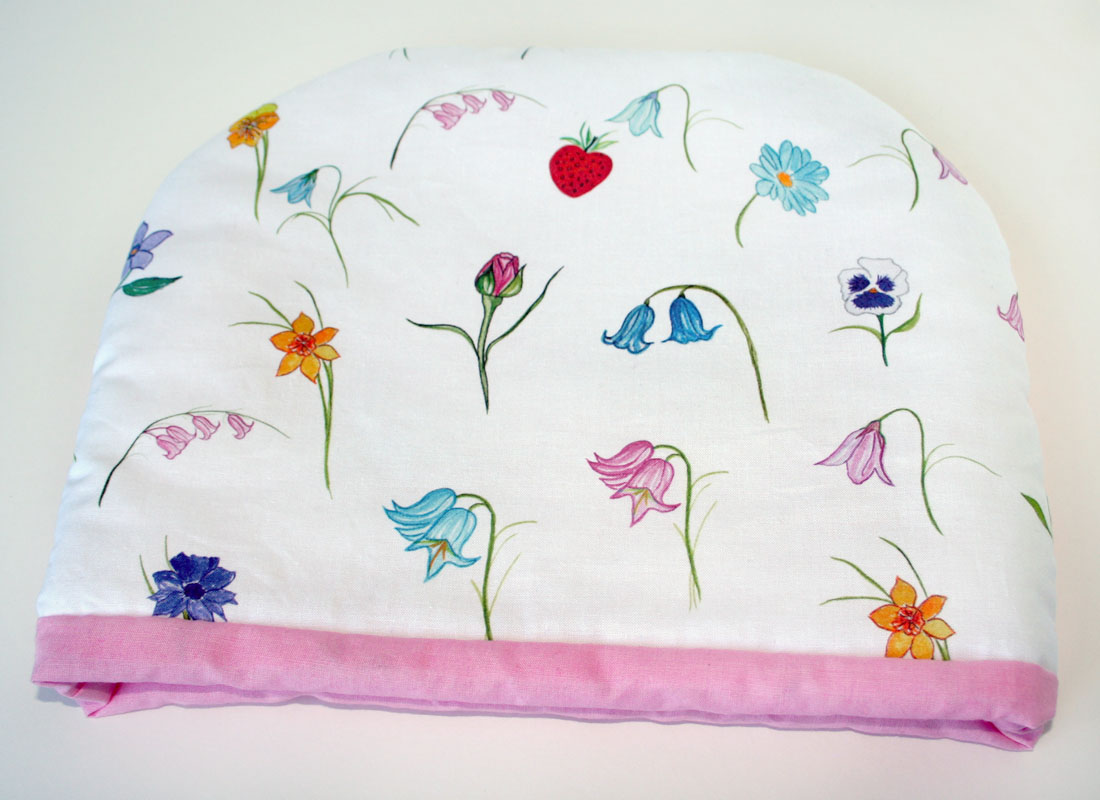
This double–sided tea cosy has a vintage floral pattern on one side and a pink satin fabric on the other side. It is lined with pink cotton.
How to make the tea cosy
You will need:
1 piece of cotton floral pattern fabric – size 14 inches (36cm) x 11 inches (28cm).
1 piece of pink satin – size 14 inches (36cm) x 11 inches (28cm).
2 pieces of pink cotton fabric – size 14 inches (36cm) x 11 inches (28cm).
2 pieces of wadding/batting – size 14 inches (36cm) x 11 inches (28cm).
Freezer paper (or tracing paper) to trace the basic pattern shape.
How to make the pattern
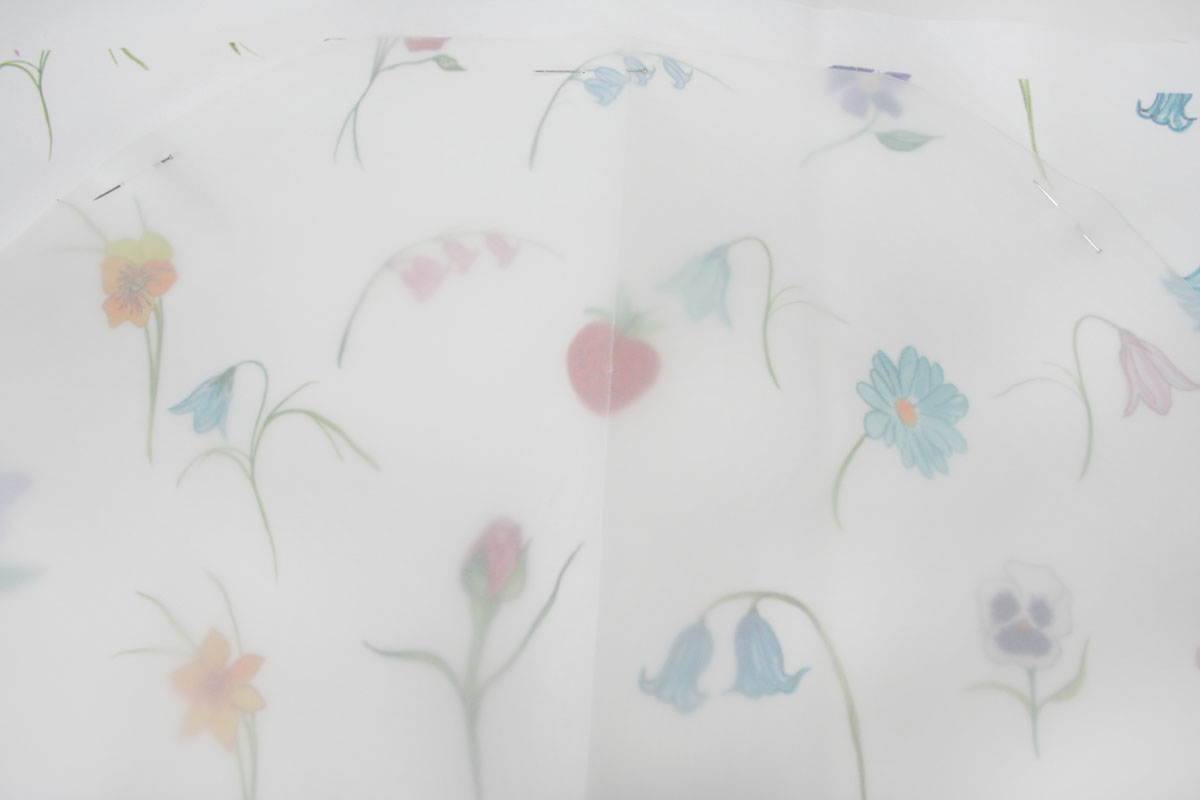
Cut a large rectangle from the freezer paper measuring – 14 inches (36cm) x 11 inches (28cm).
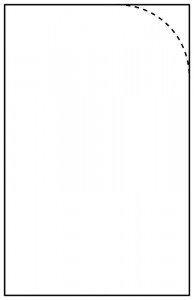
Fold the rectangle in two (as shown).
Use a pencil to draw a curve to round off the corners. Once you have the shape you need, cut the corners off. This creates a dome measuring 14 inches (36cm) x 11 inches (28cm).
Use this as your pattern to cut out the pieces of fabric and wadding/batting.
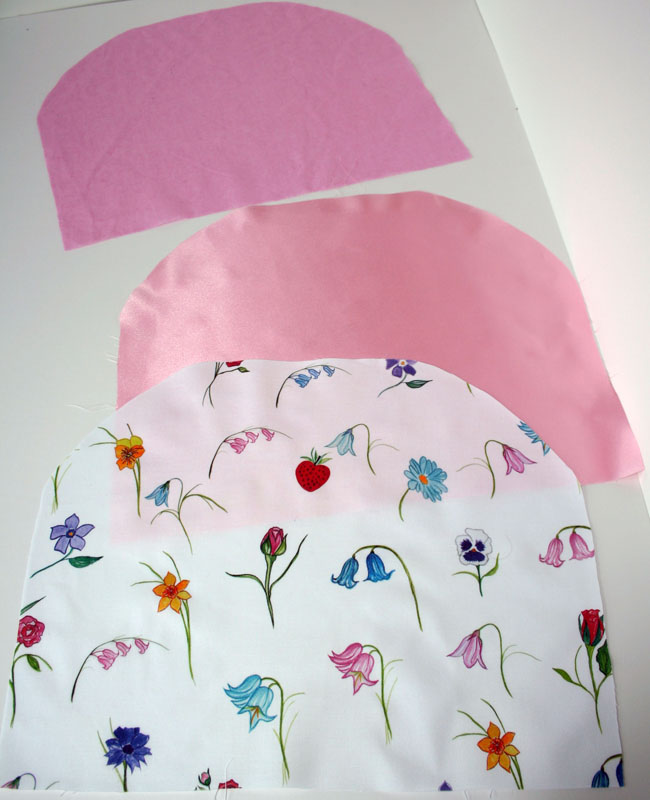
I placed the pattern so that one of the strawberries on the fabric would be in the top centre of the tea cosy. Move the paper around when using a printed floral fabric until you get the look you want for your tea cosy.
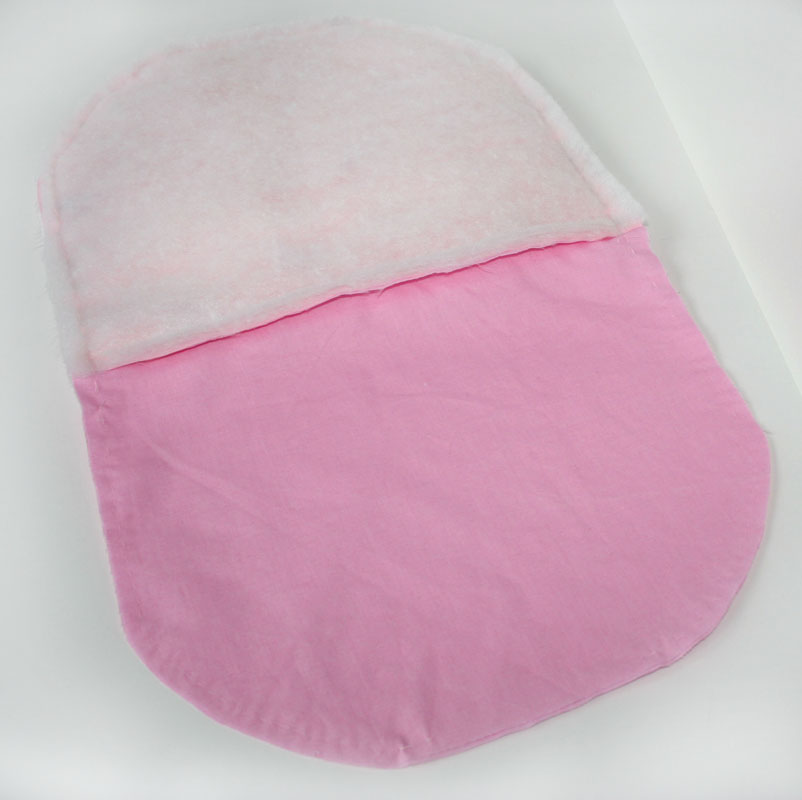
Sew the floral piece to one of the lining pieces – right sides together. Include the wadding/batting (as shown below).
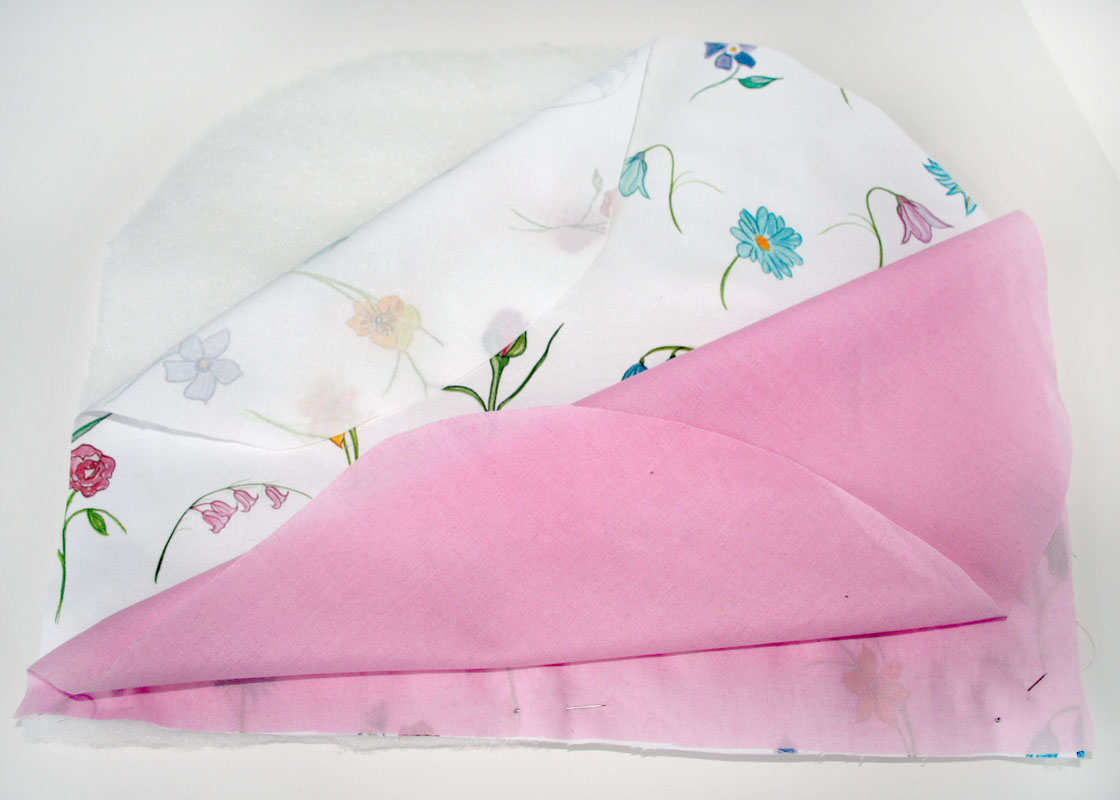
Put the wadding under the floral fabric. Using a quarter inch (0.5cm) seam allowance, sew the three pieces together along the bottom edge. (Only sew this one seam at this point).
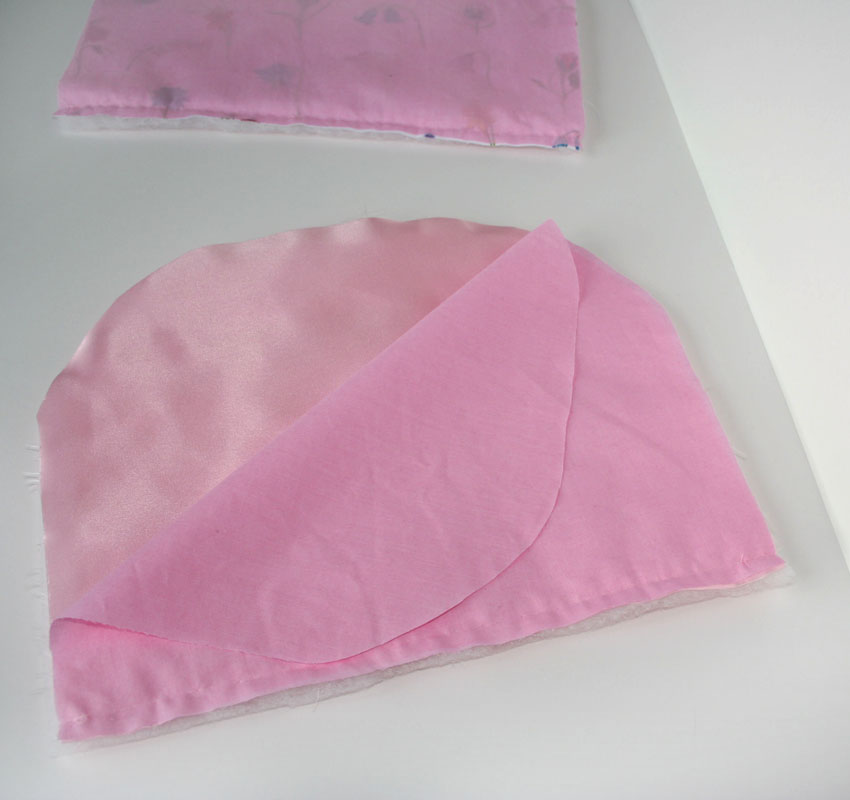
Repeat this process with the pink satin fabric, pink lining (right sides together) and wadding.
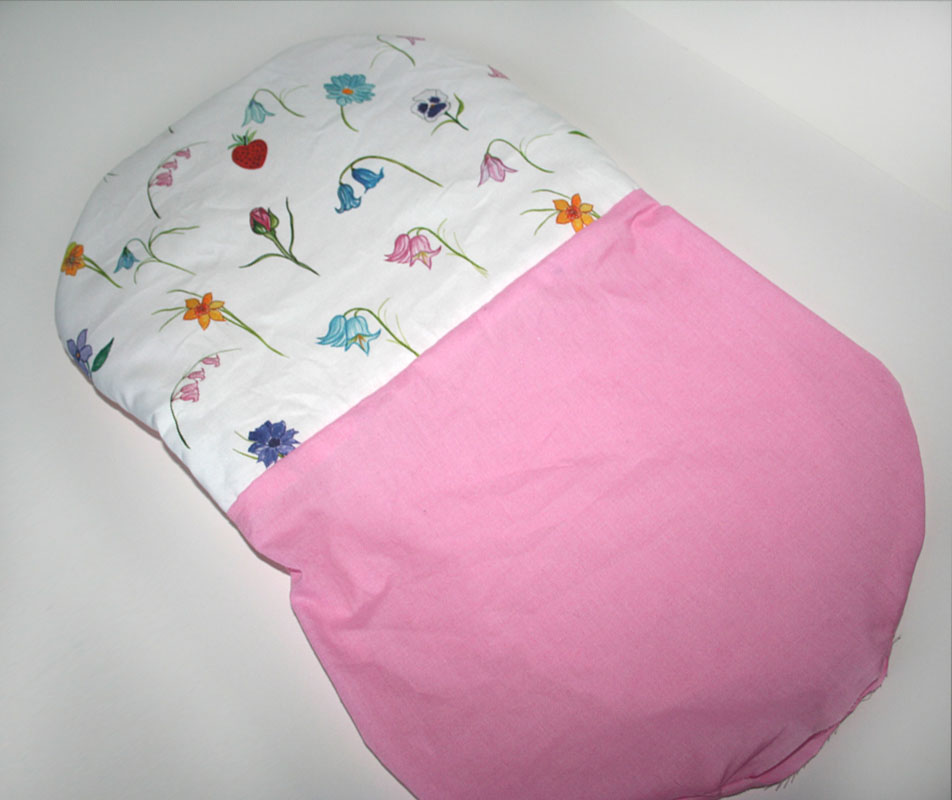
Open out both main pieces of fabric (that now have the wadding and lining attached to them) and place them right sides together. Make sure that the side seams match. I tacked these pieces together with a running stitch before sewing them.
They are now ready for sewing around the edges. Remember to leave a 3 inch (8cm) gap on the bottom edge of the lining for turning the tea cosy right sides out.
Turn the tea cosy right sides out through the gap in the lining. Sew the gap shut using a slip stitch or ladder stitch.
Push the lining inside the tea cosy. I left some of the pink cotton lining as an edging. Press along the edges.
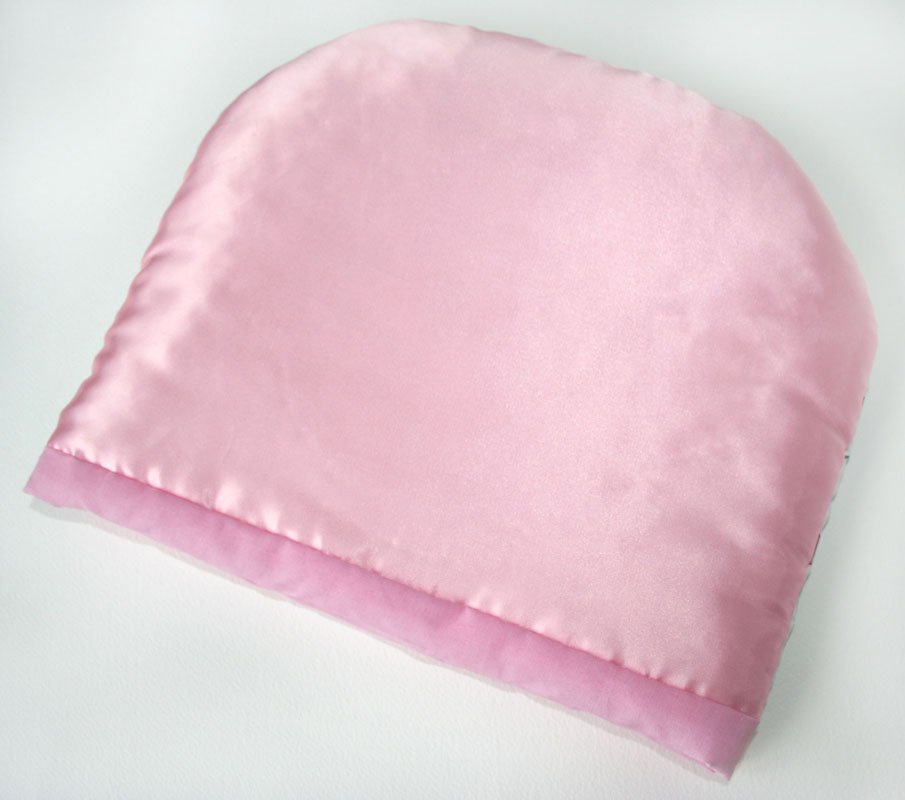
The tea cosy is now complete and ready to use for afternoon tea.