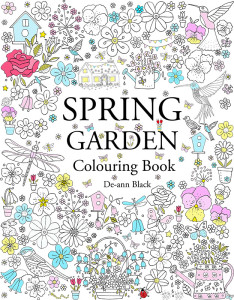
These pincushions are very easy to make.
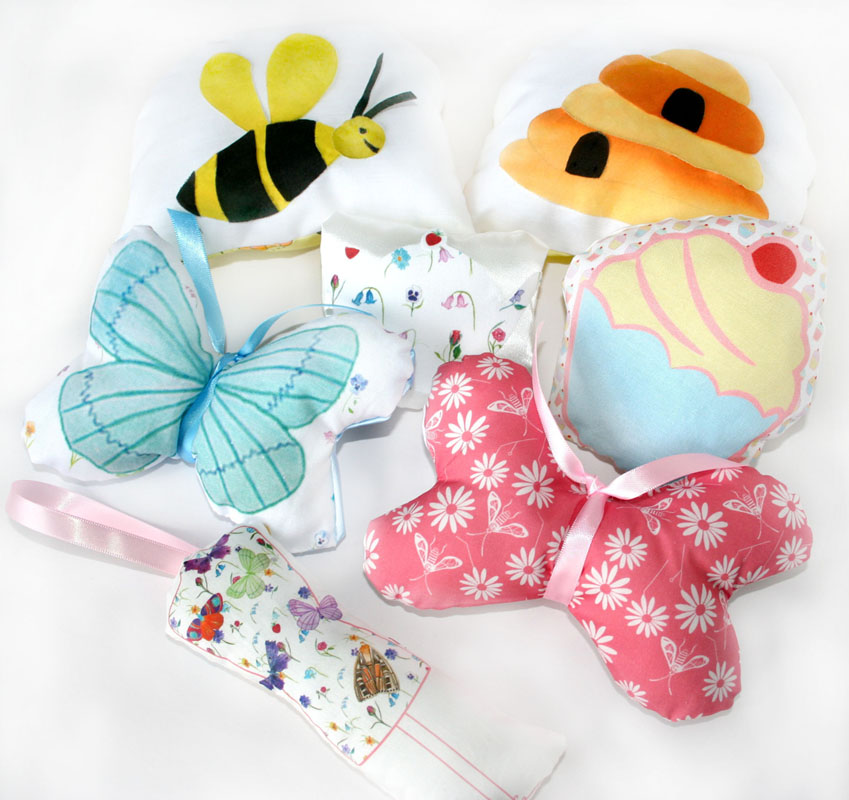
You can use the designs that are printed on fabric as part of my fabric collection or you can use your own fabric along with the templates included here that give you the required shapes.
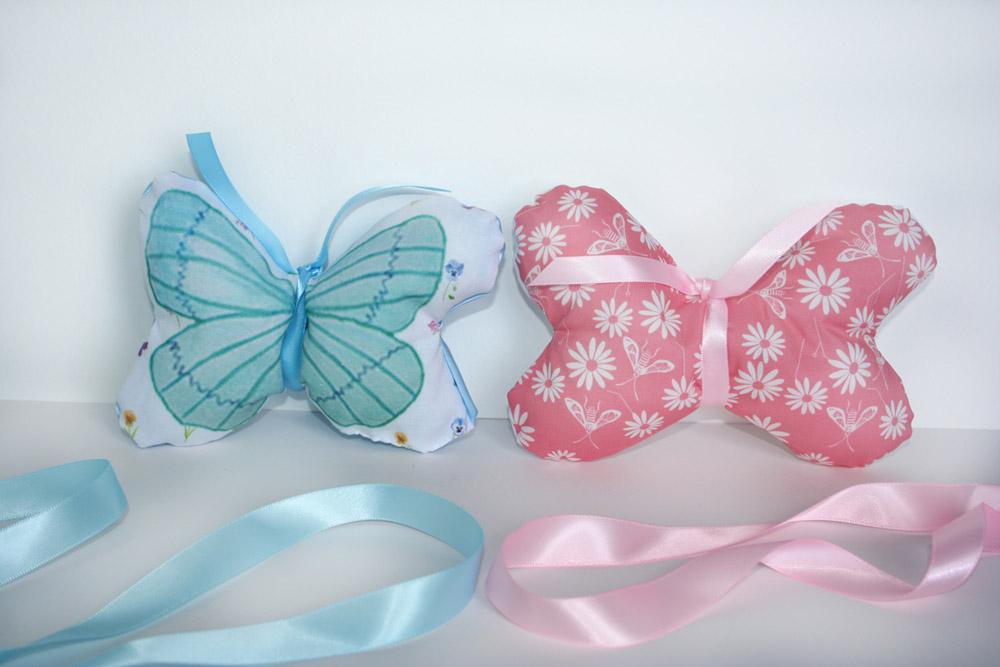
The two butterfly pincushions are an ideal example of this. The blue butterfly is made from one of my fabric prints, backed with blue satin and tied with a blue ribbon. You’d need to have the actual blue butterfly print to make this. However, by using the butterfly template you can cut a butterfly from any piece of pretty fabric (I used this pink daisy design) backed with white cotton and tied it with pink ribbon. So this gives you the ability to use either method.
The same thing applies to the other designs. Some of them are available as prints or you can make your own using fabric scraps and the template pattern shapes.
How to make the pincushions
You will need:
Various fabric scraps in bright colours
Filler for stuffing
Ribbon
Method:
Cut the shapes for the pincushion you want to make using the templates. Use various fabrics of your choice.
Cut a backing fabric that’s the same size.
Sew the main fabric to the backing fabric with right sides together leaving a gap for turning. Turn right sides out and fill with stuffing. Sew the gap shut.
Use the same method to make all the pincushions.
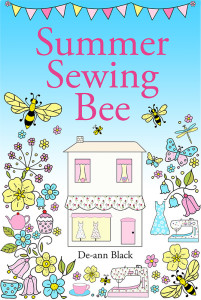
Bee & Beehive Pincushions
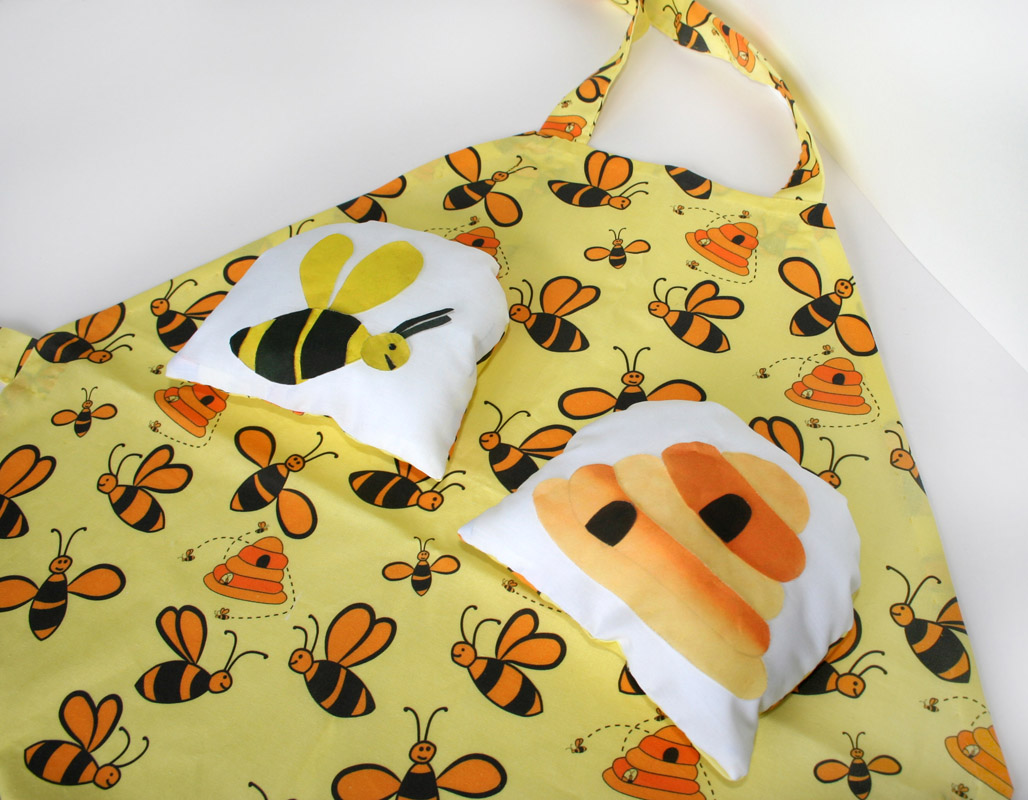
These are both backed with bee fabric.

The pieces of the bee and hive were individually cut from scraps of yellow, black and amber tone fabrics and sewn on to dome–shaped white cotton fabric. The templates for the bee, hive and dome are included here.
If you don’t have the bee print fabric, use any bright yellow and white fabrics you have available. Floral prints would also work well with this design.
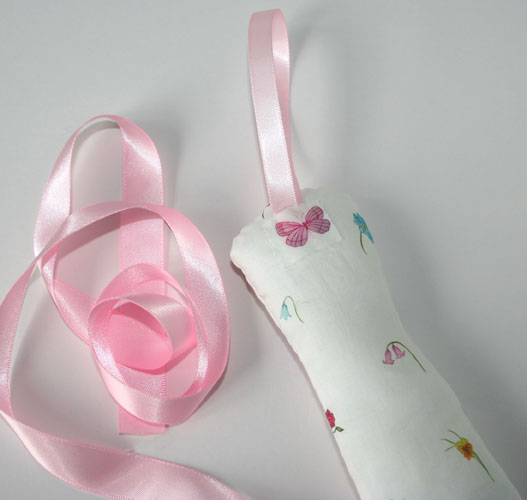
Dress Form Pincushion
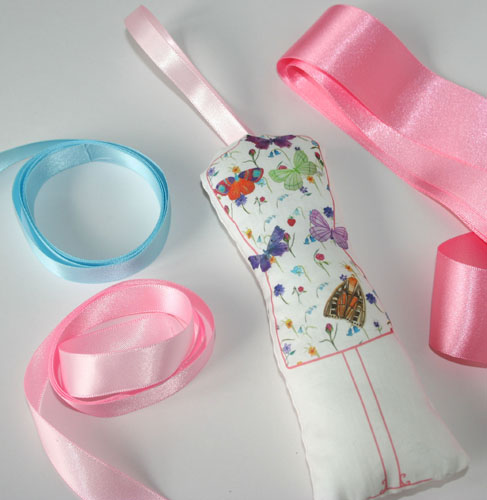
I added a piece of pink ribbon to the top of the dress mannequin so that this pincushion could be hung up. To cover where I’d stitched the ribbon on at the top of the pincushion, I added a butterfly motif.
This was made from one of my fabric prints, but you can use the template to make it from scraps of fabric. Cut out the main dress mannequin shape (the outer shape) and make the pincushion as above. Then cut out the inner shape using a contrasting fabric and appliqué the mannequin to the pincushion. Secure the edges of the appliqué with blanket stitches or other edging stitches. Use embroidery stitches (a simple running stitch) to create the lines for the dress mannequin stand.
Fairy Cake Pincushion
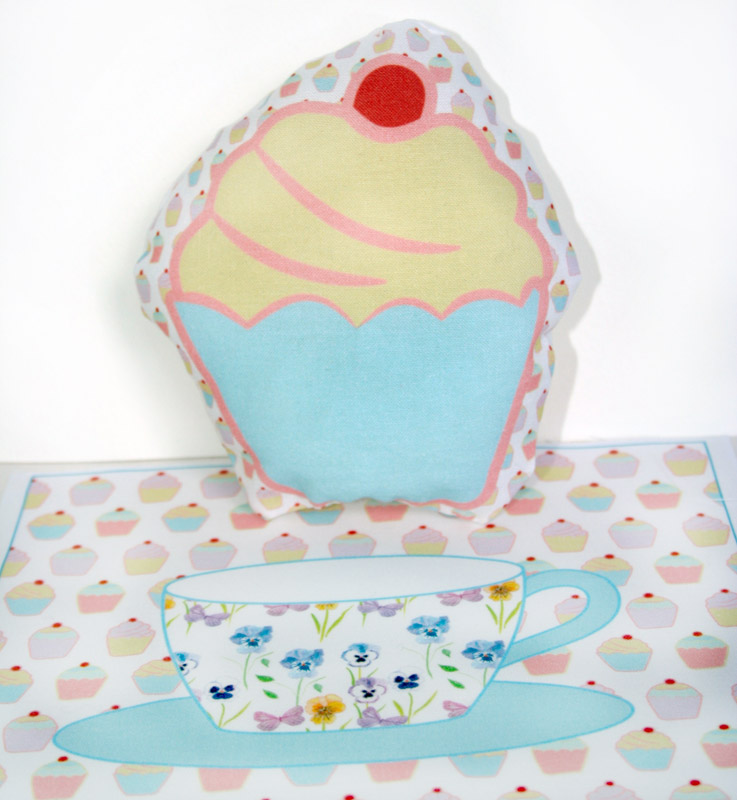
This was made from a fabric print that had a fairy cake background. A fairy cake template is included so that you can make your own cake. Trace the template and use the pattern to cut out the cake shapes from pieces of fabric. Pastel colours look lovely with this cake design. Top with a bright red circle for the cherry. You could sew sequins on to the cherry to add a bit of glitz.
Butterfly Pincushions – pink & blue
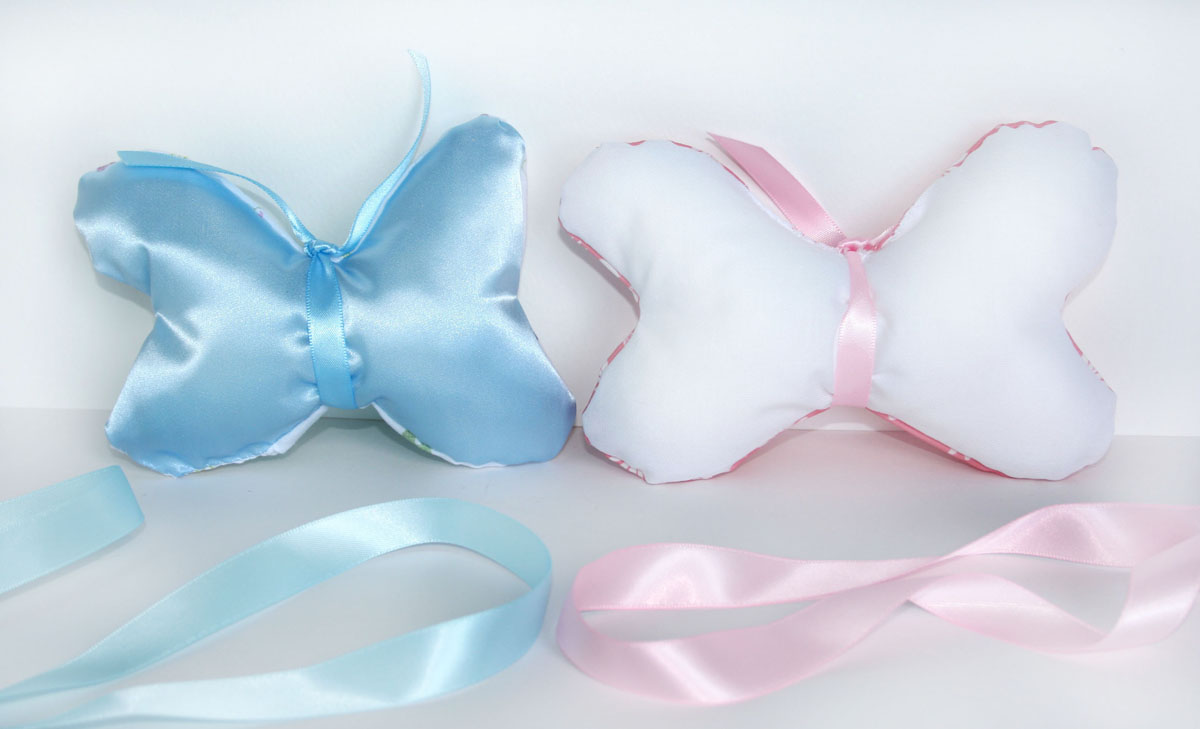
As already mentioned, these were made using a butterfly print and also from the butterfly template.
Tie ribbon trims to the butterfly pincushions. Use a double knot to secure the ribbons.
Teapot Pincushion
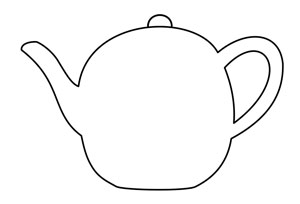
Pincushion size: 3 inches (8cm) x 3.5 inches (9cm).
I used the teapot template to cut out the teapot shape from floral print fabric. I cut two rectangles from the pincushion templates — one from white satin for the front of the pincushion and one from cotton for the backing.
I made the rectangular shaped pincushion using the sewing method described, and then stitched the teapot on to the white satin using a slip stitch.